
FIELD RECORD NO. 002 / A SCRIPTED TACTICAL TUTORIAL
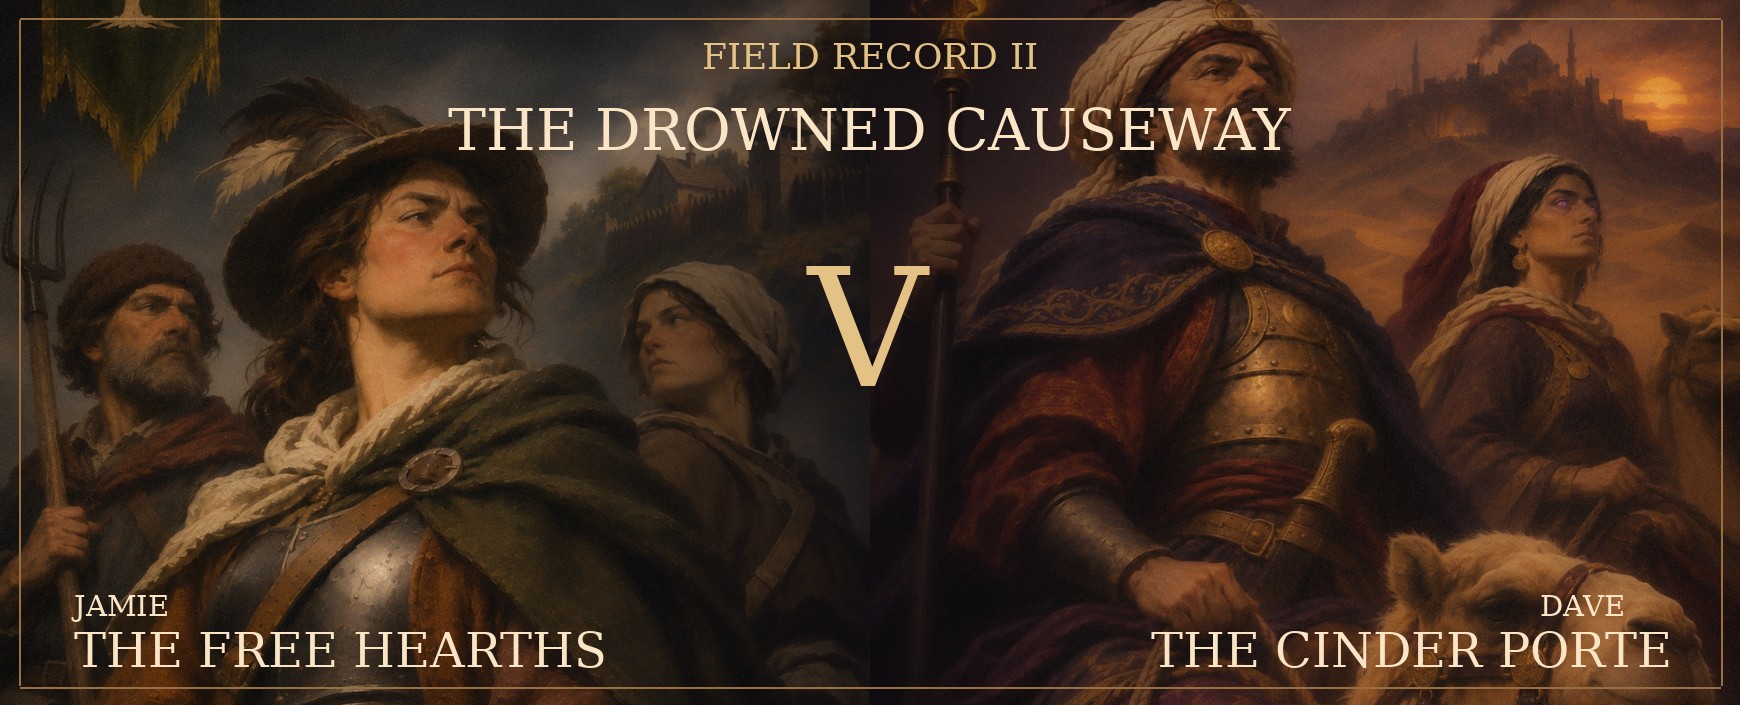
THE DROWNED CAUSEWAY
The bridge belongs to no one.
A ruined floodgate holds the ledger that once controlled a region's waterworks. Jamie needs its records to save an isolated township. Dave has been sent to secure it for the Cinder Porte's engineers.
Unlike Battle Report I, this clash explores the cryptid alternative to the radiation storm, the consequences of heavy artillery, army and city bonuses, and what happens when a player tries to win the mission rather than the firefight.
ROUND
ROUND 01 / Marching orders
The first approach
Jamie brings the Scattered from Colchester; Dave commands Cinder Porte troops from Thessaloniki. Both forces have a captain, exactly four Officers and two Core squads, with specialists chosen within the 500-point limit. Jamie's Road Wardens carry a mixture of hunting rifles, carbines and bows. Dave has musketeers, shield-bearing guards and a heavy Brass Bombardier.
Dave's Gate Warden issues Forced March to a nearby Gate Musketeer formation within 12 inches. Its normal 6-inch move becomes 8 inches, but it cannot charge. Meanwhile, a second stationary Porte formation benefits from its free faction doctrine, Measured Fire: one shooting attack improves from Hit 4+ to 3+.
Jamie answers with a stationary Road Warden's hunting rifle, which grants +1 to Hit when the shooter has not moved. The target is behind broken stonework, imposing −1 to Hit. Those two modifiers cancel: the Warden still needs 4+. Jamie rolls a 5 and hits, showing why the longer, more costly rifle can be worth taking.
No objectives score until the end of round two.
ROUND
ROUND 02 / Something in the water
The creature wakes
Before any player activates, the battlefield's event D20 is rolled. The result is 6: a cryptid arrives instead of a radiation storm.
On 1–10 a creature appears; 11–20 would produce a radiation storm. Only one standard environmental event occurs.
The chosen province is The Flooded Provinces. Its possible encounters are Kelpie (D6 1–2), Tarasque (3–4), and Nøkken (5–6). Jamie rolls 2 on the creature die: a Kelpie. Another D6 produces 1, placing it at the centre of the table.
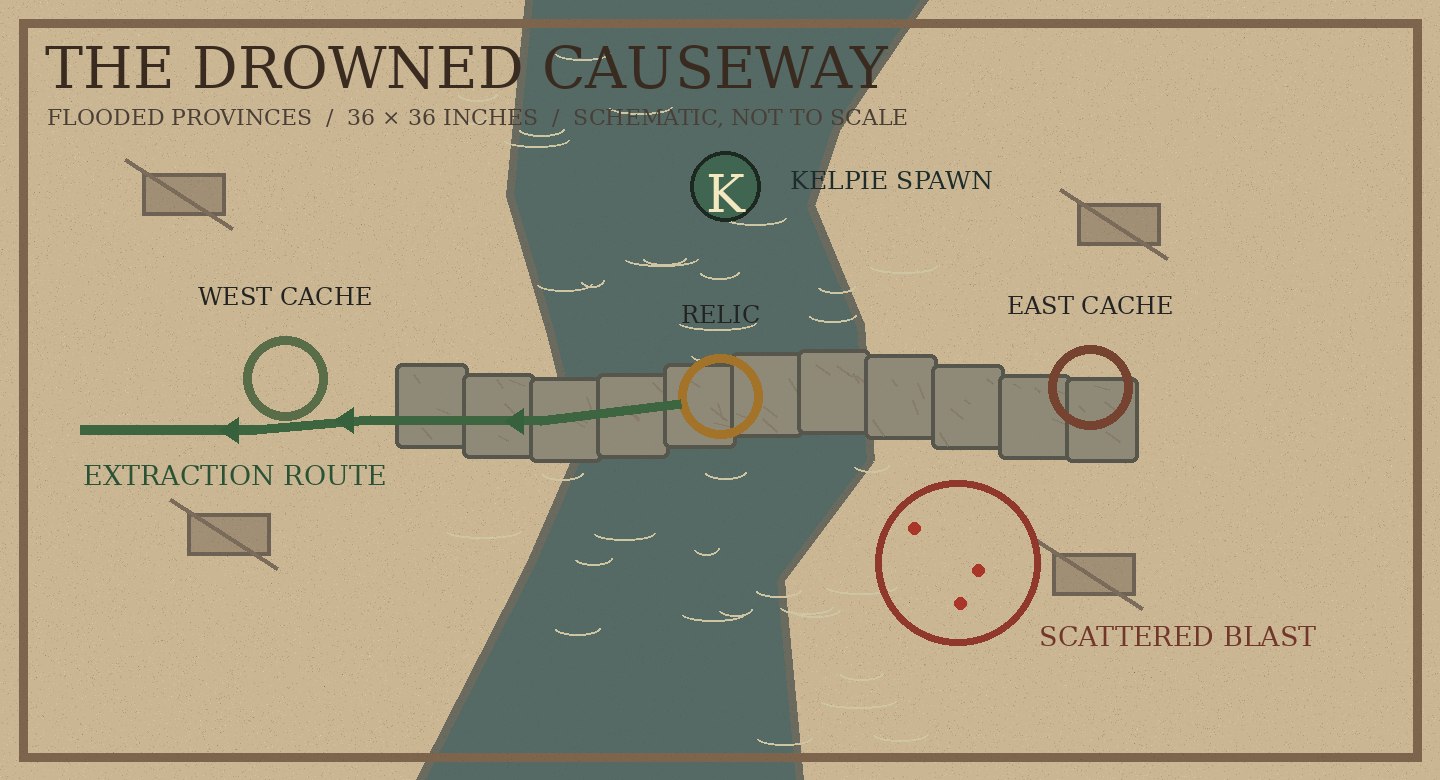
The Kelpie has 15 wounds and moves first, before any player activation. Jamie and Dave roll D6 to decide its prey: Jamie gets 5 and Dave 2. Dave has the lower roll, so the Kelpie targets his Cinder Porte. Its behaviour roll is 2: Stalk. With Movement 8 inches, it reaches a Porte Gate Musketeer on the causeway and attacks. Because it has made contact, the creature is engaged with Dave’s force until this combat finishes.
The Kelpie's first strike kills the isolated Musketeer; there is no longer a fighter within 1 inch, so this combat is over and the creature becomes free again. The beast belongs to neither player and has its own fifteen-wound profile. It does not automatically award victory points if killed. Jamie holds the western cache; Dave holds the eastern cache. The crossing remains disputed.
ROUND
ROUND 03 / Nine inches of courage
The bridge breaks
At the start of the round, the Kelpie is free again, so the players roll off: Jamie 4, Dave 2. Dave is targeted again. Its behaviour is 3: Hunt: it moves 8 inches towards a wounded Porte soldier, but is too far away to attack.
Dave's Brass Bombardier stays still so its portable cannon can fire. The weapon has Force 5, Damage 3, and uses a 3-inch blast template. Dave aims at Jamie's advancing militia, but rolls a 2 to Hit against a required 4+.
One Scattered militia fighter and one Porte musketeer are caught beneath the template. Each suffers a hit and must be wounded: Dave rolls 5 and 4, both successful because Force 5 exceeds their Toughness 3. Jamie rolls 5 for his militia fighter's Save and escapes. Dave rolls 1 for his own musketeer, who is killed by the gun's 3 damage. Blast weapons do not distinguish friend from foe.
Dave spends his round's Last Hurrah Field Gambit on the doomed musketeer. The dying fighter is still eligible to fire one last carbine shot. Dave rolls 3 on the Gambit's D6, but the model has only one ranged attack, so it fires once. It hits on a 5, then fails to wound on a 2.
Jamie's Village Militia are waiting by a ruined stone wall. Their faction doctrine, From Cover, gives this Core formation +1 inch to its charge because the squad charges out of terrain, once this round. Jamie also declares Breakthrough, his Field Gambit for the round, granting another +2 inches. The normal 6-inch charge becomes 9 inches.
The wounded Porte soldier survives to retaliate once. He rolls 5 to Hit and 4 to wound; Jamie's save fails on 2. Jamie now uses his free Colchester city trait, Stout Neighbours, to reroll one failed Core armour save, once per battle. He rerolls the failed 2, gets 6, and keeps the militia fighter alive.
Another of Jamie's unengaged Road Wardens moves into contact with the floodgate ledger and uses its action to pick up the mission relic. Jamie controls the central crossing and the western cache; Dave retains the eastern cache.
ROUND
ROUND 04 / A mathematician’s second chance
The bombardier measures twice
Before the players activate, Jamie rolls 5 and Dave rolls 2; Dave is again the creature’s chosen prey. The Kelpie rolls 6: Feral Instinct, advances 8 + D3 inches (the D3 is 2), and its ambush ability hampers a nearby Porte musketeer, imposing −2 inches Movement on that fighter’s next activation. The creature’s action takes place first, not after the players’ turns.
Dave's wounded troops contest the bridge while his Brass Bombardier prepares another stationary shot. This time the cannon hits on a 4, placing the blast correctly. Two Scattered defenders are beneath the 3-inch template.
Dave rolls twice to wound with Force 5 against Toughness 3, requiring 3+: the dice show 2 and 4. One result fails. However, Dave's starting city is Thessaloniki, granting Battery Survey: once per battle, a Heavy specialist may reroll one failed wound roll. His reroll is 5. Both targets must now Save.
Jamie's Road Warden carrying the ledger moves a normal 6 inches towards the Scattered deployment edge. No shot is fired: the carrier is using its activation to escape with the objective. Both players are suddenly playing for position rather than casualties.
The central crossing is contested, so nobody scores it. Jamie still holds the western cache; Dave still holds the eastern.
ROUND
ROUND 05 / The ledger reaches dry land
Survival is the objective
At the start of the final round, the Kelpie is still unengaged. Jamie rolls 2, Dave 5, so the beast changes its attention towards Jamie’s force. Its behaviour roll is 5: Rush, taking it up to 10 inches towards a nearby Scattered fighter. The move does not intercept the ledger carrier, who escapes later in the round.
Dave would like to chase down the fleeing Road Warden, but the Gate Musketeer disrupted by the Kelpie can move only 4 inches instead of 6 on its next activation. Dave's captain has other threats to contain and cannot close the gap in time.
Jamie's Road Warden is now 6 inches from the home edge. On its activation, it makes its normal 6-inch move and extracts the ledger, as permitted by this mission.
Jamie gains the five-point extraction bonus. Dave retains the eastern cache for one final victory point.
Jamie has withdrawn the fighters who held his western cache to escort the carrier, so he gains no further position points. The Kelpie survives the battle and claims the flooded bridge as its own. Dave's guns have inflicted the greater casualties, but Jamie has completed the mission.
For campaign play, surviving formations may make their normal experience rolls. As an example, the Road Warden's surviving unit rolls 5 on its D6 and earns 3 XP. Persistent injuries, salvage and deeper campaign recovery remain provisional rather than being invented for this tutorial.
AFTER-ACTION REPORT / FIELD RECORD II
Jamie takes the ledger.
Dave's troops won much of the gunfight and even suffered friendly fire from their own cannon. Jamie won by watching the objectives, taking advantage of his faction's terrain charge and getting the ledger home. The Kelpie remains alive in the flooded crossing, indifferent to either army's victory.
Rules demonstrated: formation orders, equipment trade-offs, shooting from cover, blast templates, scatter and friendly fire, Breakthrough and Last Hurrah Field Gambits, faction and origin-city bonuses, autonomous cryptid behaviour, relic extraction and campaign XP.
This battle is scripted to teach current Age of Ash mechanics, not a record of an actual match. Positions, dice rolls and scenario victory conditions are illustrative. Unfinalised campaign features are labelled rather than assumed.